Adding or Removing a Document Library in SharePoint
How to add a document library in SharePoint 2013 / 2016
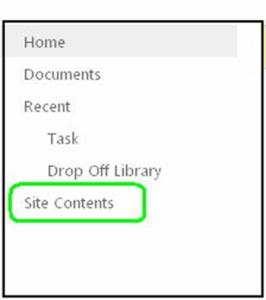
- Open SharePoint home page. Click on Site Contents link.
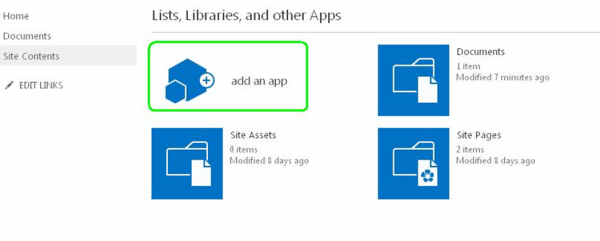
- System will display the following options. Just click on “Add an App”.
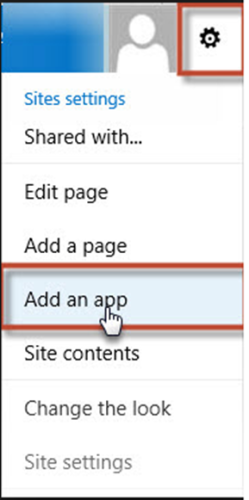
- Or you can click on gear icon then click on “Add an App”.
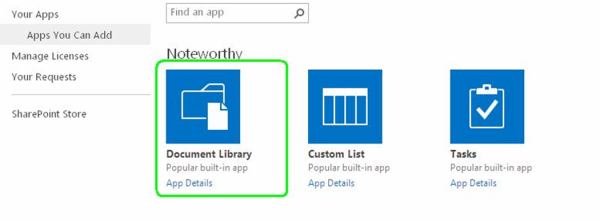
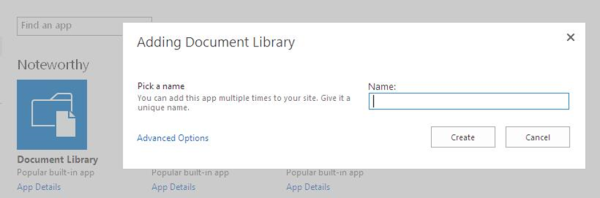
- You will see the following page. Click on Document Library.
- Name the Document Library and click on “Create” button.
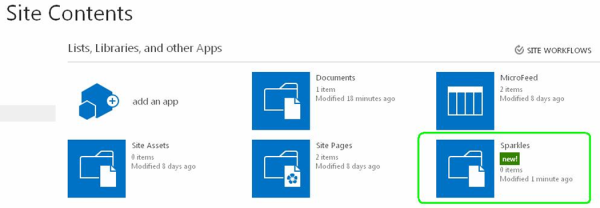
- New document Library would be get displayed in the site contents page.
- Here is the document Library “Sparkles” that we’ve created.
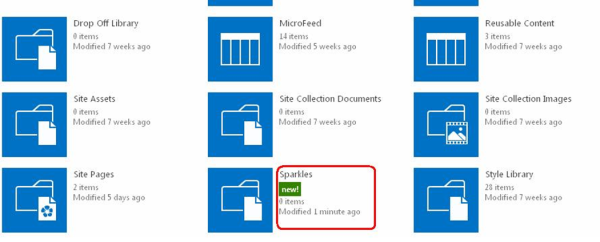
To remove this document library, we have to follow the following steps.
- Click on the name of the Document Library that you wish to remove.
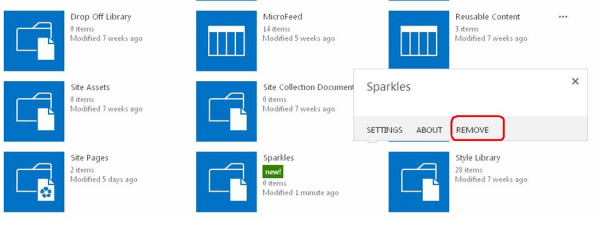
- Following window will get displayed. Now you have to click on “Remove” link.
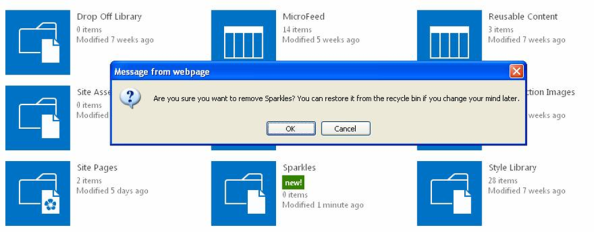
- System will prompt this pop-up for confirmation.
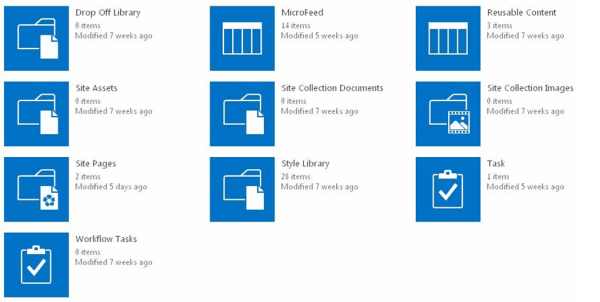
- Once you click on OK, Document Library will get disappeared from the list.
➤